

For enterprises with high security requirements, setting up a data storage center through the Synology NAS network storage device cannot meet the needs of enterprises for data security and backup. It is necessary to establish real-time backup data of the local data center in different places to realize the scenario construction of remote data disaster recovery backup. How to use the Synology NAS network equipment to set up a disaster recovery backup scenario?
First of all, we have to build a VPN network connection environment between the remote and the local, of course, you can also choose the private network, but the cost of this solution is very high. Further, based on data security considerations, data transmission cannot be directly performed via the Internet. After setting up the VPN interworking network environment, the local Synology NAS is set as follows:
Building a Synology NAS network storage VPN environment
1. Open Control Panel > Network

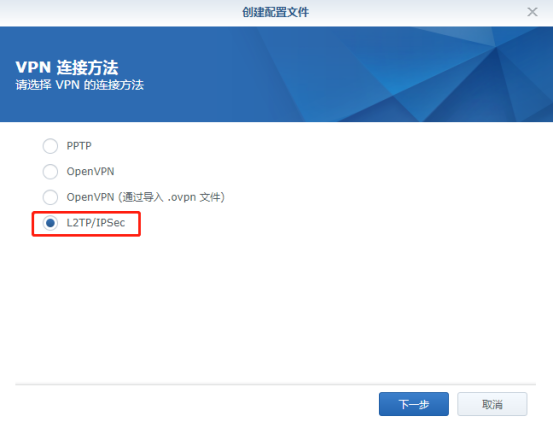
2. Select Network Interface > Add > Create VPN Profile

3. Select according to the actual VPN connection method. Here, L2TP/IPSec is selected. If the VPN connection method is corresponding to other forms of selection.
4. Enter the name of the configuration file (optional), the IP address of the remote VPN server, the user password, and the pre-shared key.

5. Authentication mode Default MS CHAP v2 (see VPN setup scenario for selection) Other options must be checked to avoid problems that cannot be accessed.

6, VPN connection is successful

Note: This is a local backup data to a remote location, is a one-way data backup. The interoperability of data backup is not considered.
Hyper Backup scheduled backup
After the VPN connection is successful, the Hyper Backup Suite is used to implement the remote disaster recovery backup. If you do not have this kit, you need to search for the installation in the kit center.
7. Open Hyper Backup and add data backup tasks. The remote NAS server needs to install the Hyper Backup Vault kit.

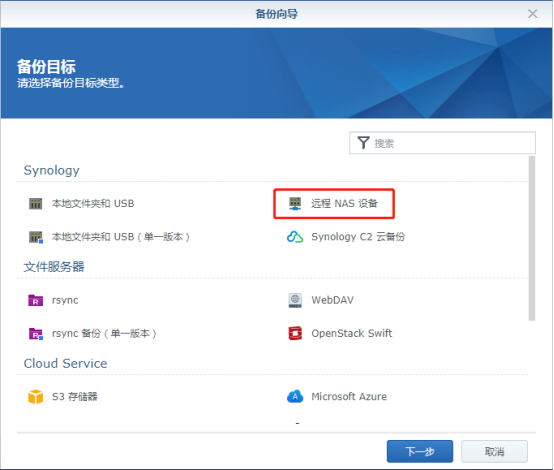
8, backup target selection: remote NAS device
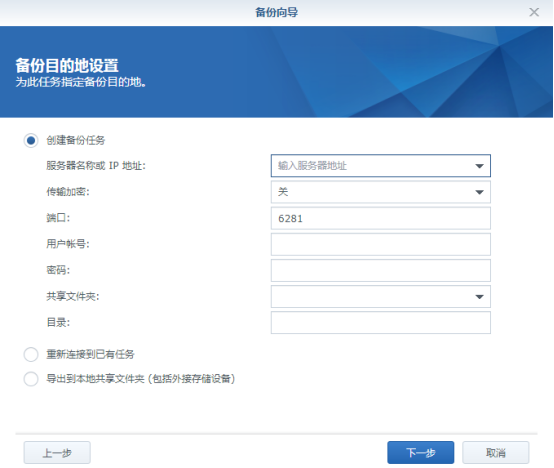
9. Enter the IP address of the remote NAS, the default port is 6281, enter the user account and password, and select the remote shared folder.
10, select the folder to back up data

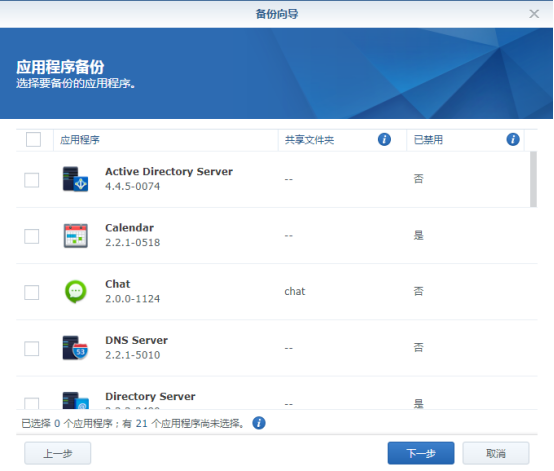
11, the backup kit can choose to ignore
12, create backup settings, it is recommended to enable compressed backup data

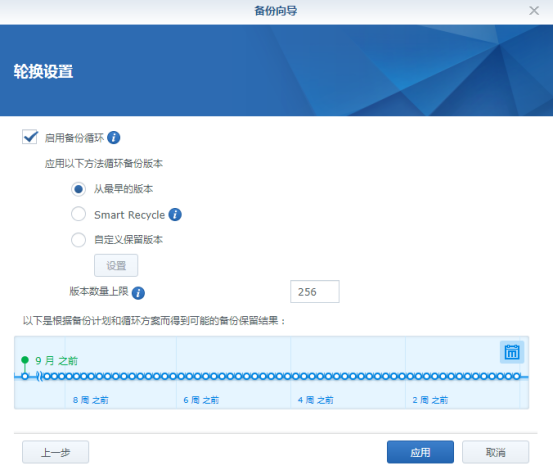
13, enable backup cycle: the maximum number of versions is 256, the version is equivalent to the number of copies of the same data can be retained
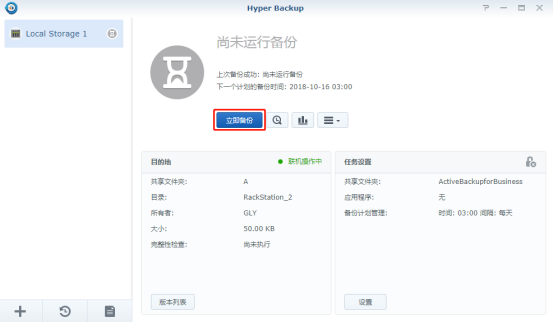
14, click on the application, backup immediately
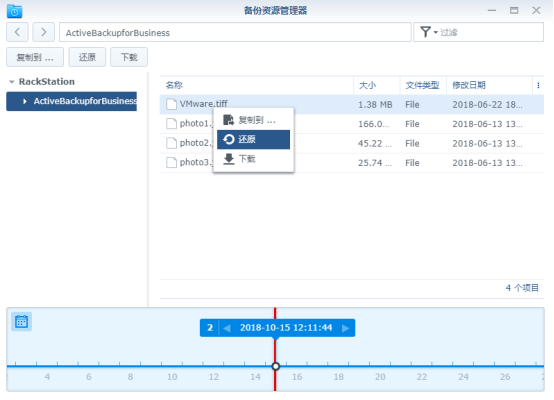
15, the backup is completed, open the backup resource controller, you can restore the downloaded backup data

The above is a detailed tutorial for setting up a scenario for remote data disaster recovery by using the Group's Hyper Backup Suite after the establishment of the enterprise private cloud data storage center through the Synology NAS network storage.
